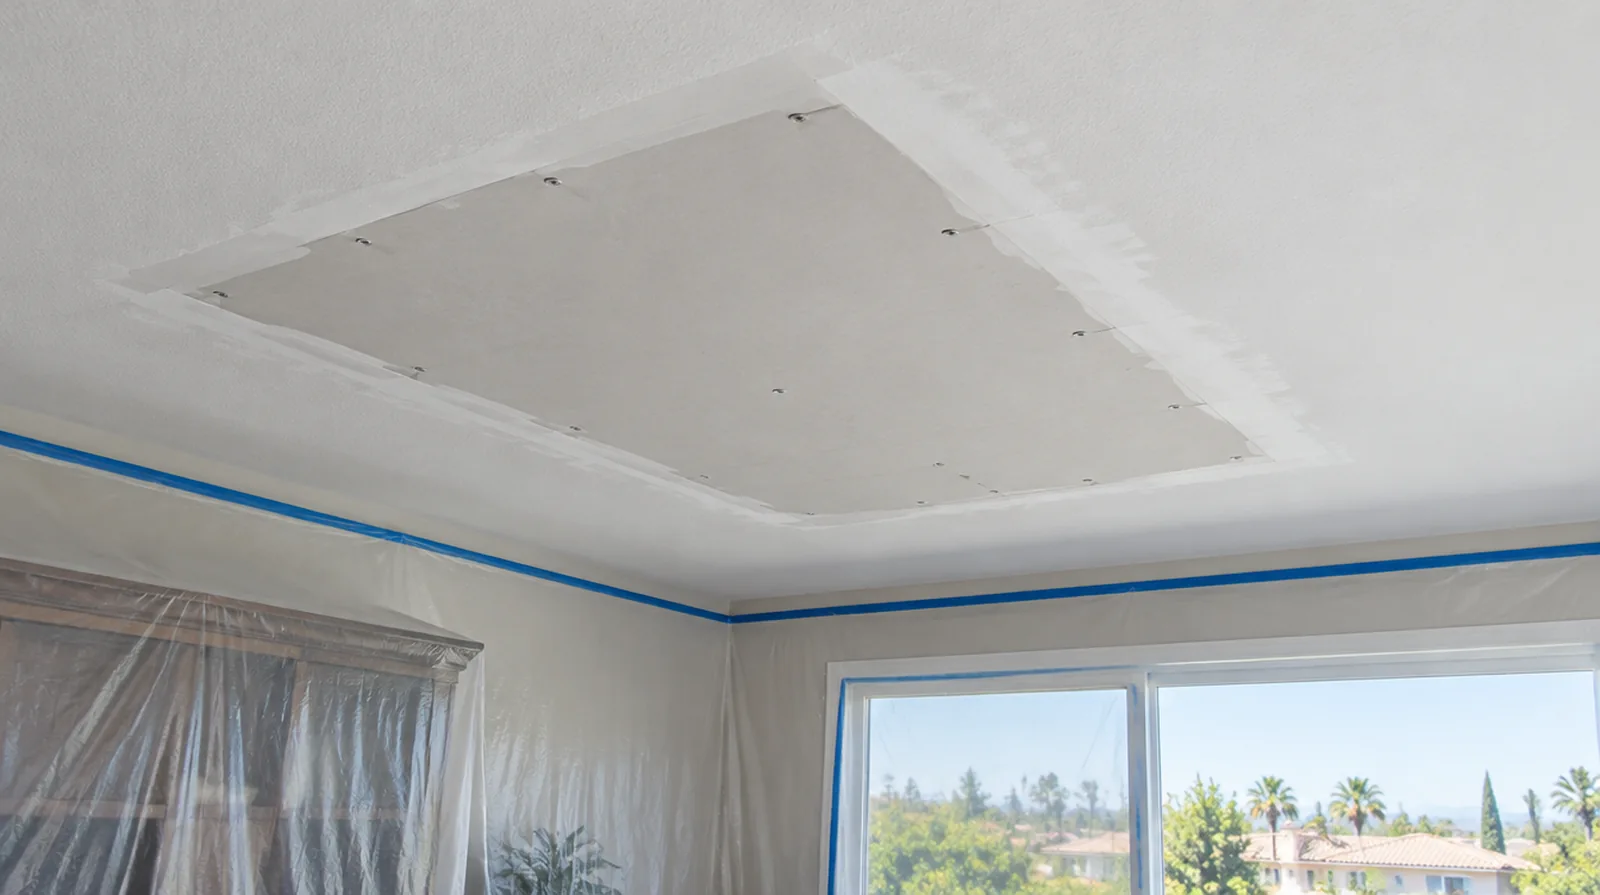
Plan overhead access
Ceiling height and furniture layout influence the platform and protection needed for safe working access. Large fixtures and delicate flooring can affect setup time more than the size of the damaged spot. If the wall work belongs to a broader renovation, coordinate its order with flooring, cabinetry and trim rather than scheduling finishing in isolation.
Check the source of damage
A visible overhead mark may be evidence of a problem in a service or space above the space. Resolve the source of moisture before relying on a decorative ceiling repair to remain sound. If occupancy must resume on a certain day, include the later primer and paint stages in the timetable as well as drywall installation and finishing.
Separate fixtures from board work
Electrical fittings, sprinkler components and mechanical grilles can involve other trades or building approvals. Clarify who disconnects and reinstalls anything that interferes with access to the damaged area. At a ceiling or wall containing fittings, assign removal and reinstatement duties for the affected devices before repair access is needed.
Treat the joints overhead
Reinforce the ceiling patch joints and taper the finishing layers well beyond their edges. Overhead seams can be conspicuous because windows often send light almost parallel to the ceiling. If a room has only limited ventilation, discuss how the finishing materials can dry without disrupting comfort or spreading dust elsewhere.
Address isolated stains
A dry repaired ceiling may still need a compatible stain blocking primer before decorative paint. Confirm that the source is no longer active instead of treating primer as a remedy for damp material. In a room with little free floor space, identify temporary storage for belongings and establish enough clearance for the work before delivery.
Review the room after drying
Once the coats are dry, view the ceiling from normal room positions and near its principal windows. Identify outstanding paint preparation while protection and access are still available. When panel replacement exposes a cavity, resolve any required inspection before that opening is closed and the surface finishing begins.
Cut back to sound material
Water softened gypsum and unstable edges do not provide a dependable base for a new patch. The removal boundary should reach stable material and allow the replacement to be properly supported. If scheduling is the main concern, separate hands on labor from drying intervals instead of treating every visit as a full day of active work.
Add reliable backing
Support a ceiling replacement mechanically at its perimeter rather than using finishing compound as a structural attachment. Matching the thickness of the board helps avoid a visible step between old and new surfaces. Where existing floors will remain, specify protective measures and review the path used by panels, equipment and finishing tools.
Identify the existing surface
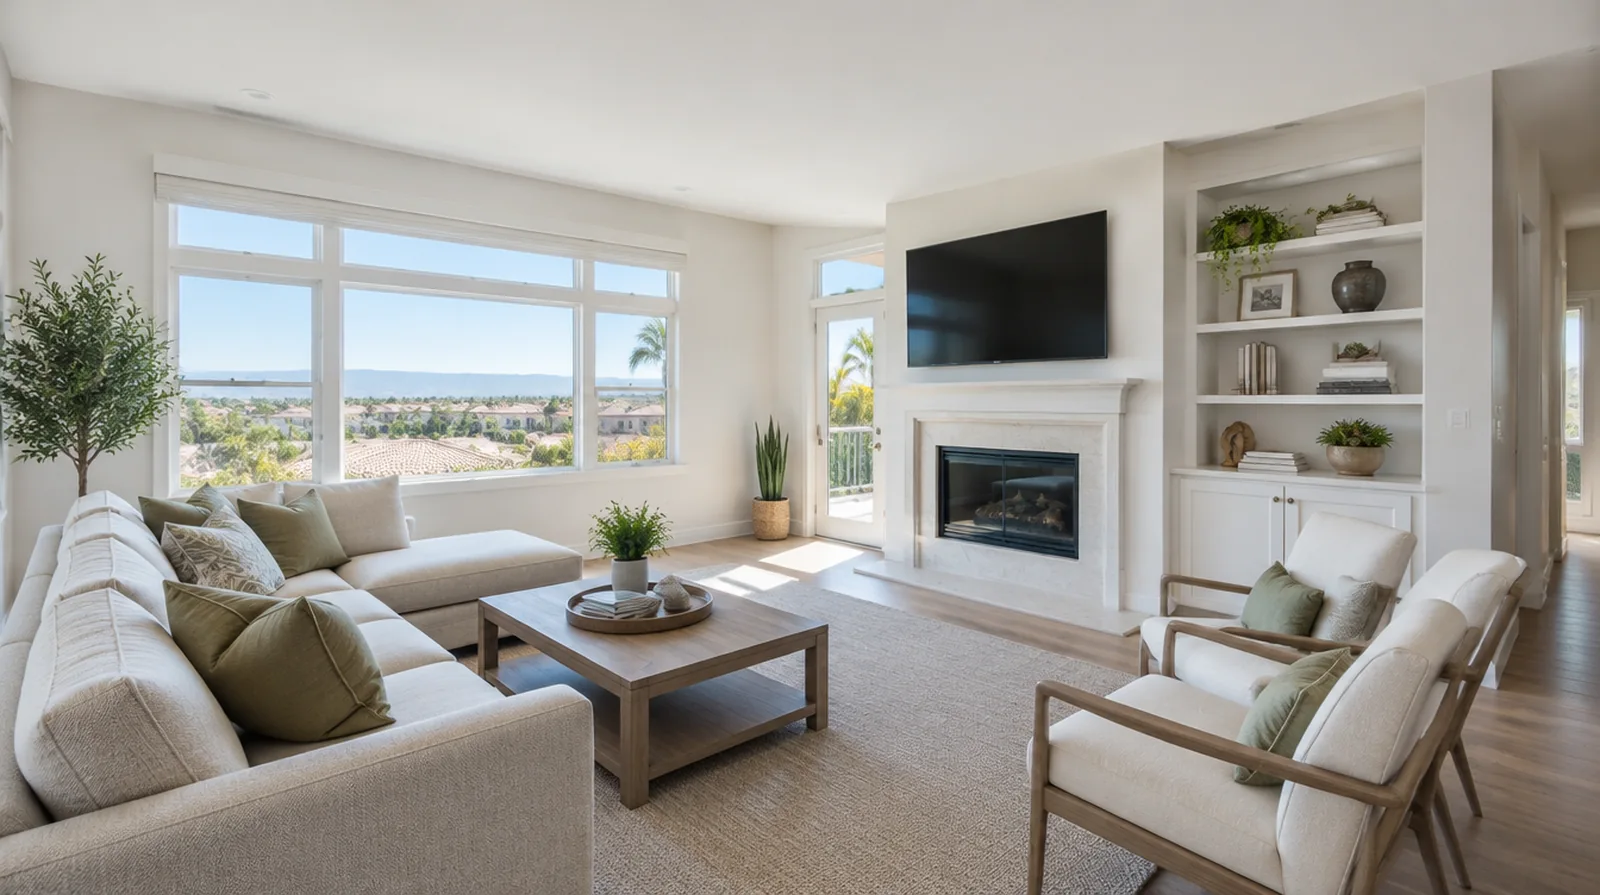
Check whether the overhead finish is gypsum board, plaster or a mixture of older layers. The right repair depends on that actual construction instead of the color of its painted face. If the ceiling or wall includes fittings, identify the person responsible for removing and reinstalling each item before the work begins.
Discuss texture expectations
Determine whether the restored area should be smooth or carry a current decorative pattern. A representative sample makes it easier to judge whether the current pattern can be blended locally. If the original finish is unusual, keep a small reference sample or a close photograph to support the discussion about blending and restoration.
Project context in Irvine
Check building rules for delivery and protect the material route, not just the center of the room. An Irvine room with a broad bright wall deserves a discussion about lighting before finishing begins.
Scope questions before finishing
For a small repair with extensive setup, compare the total scope rather than assuming the price should follow the hole dimensions alone.
If the completion date matters most, allow for intervals between coats as well as active labor instead of assuming the entire process happens continuously.
For a planned new wall mounted fixture, resolve its backing requirements while the cavity remains open instead of cutting into completed drywall later.
At an edge beside built in furniture, state whether the obstruction will be removed or whether finishing stops at the section that can be reached.
When comparing competing estimates, make sure their protection, surface finish and disposal allowances describe equivalent work before comparing the final prices.
If a room has only limited ventilation, discuss how the finishing materials can dry without disrupting comfort or spreading dust elsewhere.
When panel replacement exposes a cavity, resolve any required inspection before that opening is closed and the finishing work begins.
For work spread across differing planes, record their dimensions separately and describe the boundary of the treatment on each surface.
For a surface carrying numerous paint layers, discuss whether differences in the retained profile or sheen justify decorating a broader area.
For a room with restricted airflow, plan drying conditions alongside dust protection and the comfort of people occupying neighboring spaces.
When a paint contractor follows the drywall work, define the surface condition being handed over and decide who handles any minor final touch ups.
If an independent painter completes decoration, agree the condition of the handed over surface and assign responsibility for small final corrections.
Explore the Irvine drywall overview for related options, or read the project planning information before arranging the next stage.
More planning details for Irvine
Look across the surface from the window side as well as straight toward it; the two views can reveal very different amounts of unevenness. Share the proposed paint sheen and any fixed lighting changes while the preparation scope is being set. A room that will receive new cabinetry also needs an agreed sequence so finished walls are not reopened for backing or service adjustments.