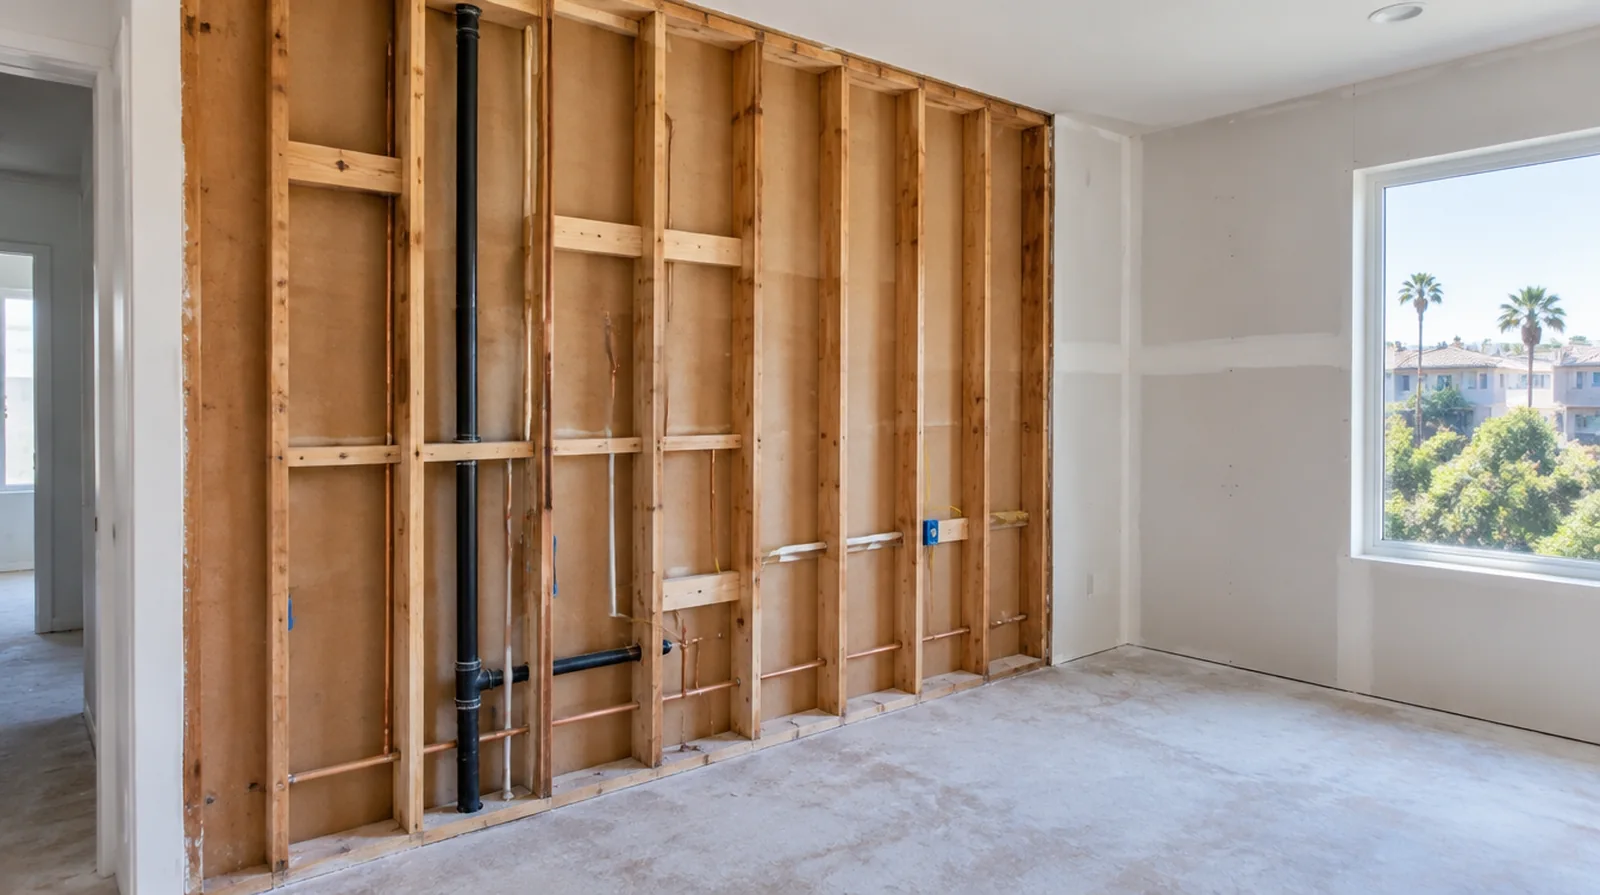
Assess material condition
Look for changes in panel strength and face condition as well as the visible color of a mark. The visible mark does not always show the full extent of the affected cavity. If the finish paint is already chosen, share its sheen and color early because those choices influence how substrate preparation is judged.
Resolve the water source
Replacement drywall should follow correction of the leak, condensation or other source that caused the damage. A cosmetic cover will not stop water from entering the same assembly again. If the completion date matters most, allow for intervals between coats as well as active labor rather than assuming the entire process happens continuously.
Keep contamination separate
Suspected microbial contamination or exposure to flood water is outside a routine cosmetic patch assessment. Obtain suitable remediation advice about safe containment and removal before arranging ordinary drywall restoration. For a tightly furnished room, plan temporary storage and the minimum working clearance before material is carried into the property.
Finish after moisture control
Tape and finishing compound belong on stable dry material rather than a damp or deteriorating substrate. Give each finishing layer time to dry rather than trapping dampness under additional material. Where a neat final edge matters, agree whether the finish ends against existing trim or whether that trim will be removed and replaced.
Agree on decorative boundaries
Restoring the gypsum and achieving a consistent painted room finish are not automatically the same scope. A ceiling or wall repaint might have to extend beyond the removed section to look consistent. When concealed damage is possible, establish how additional findings and any proposed removal will be recorded before the scope changes.
Rebuild supported edges
New panel pieces need secure fastening to sound framing or appropriate backing. Stable edges reduce avoidable stress at the boundary between the retained face and the replacement. If access passes through a shared space, arrange protection and a delivery route that do not unnecessarily obstruct other occupants.
Match the board assembly
Use replacement panels consistent with the original thickness and the assembly that must be restored. Changing to a moisture resistant board does not excuse leaving the original water problem unresolved. If the project is part of a larger remodel, settle the sequence with flooring, trim and cabinet work before setting a final finishing date.
Verify drying readiness
A dry looking outer face does not prove that concealed framing and insulation are ready to enclose. The project should identify who verifies the cavity is ready before replacement panels close it again. When concealed damage is possible, establish how additional findings and any proposed removal will be recorded before the scope changes.
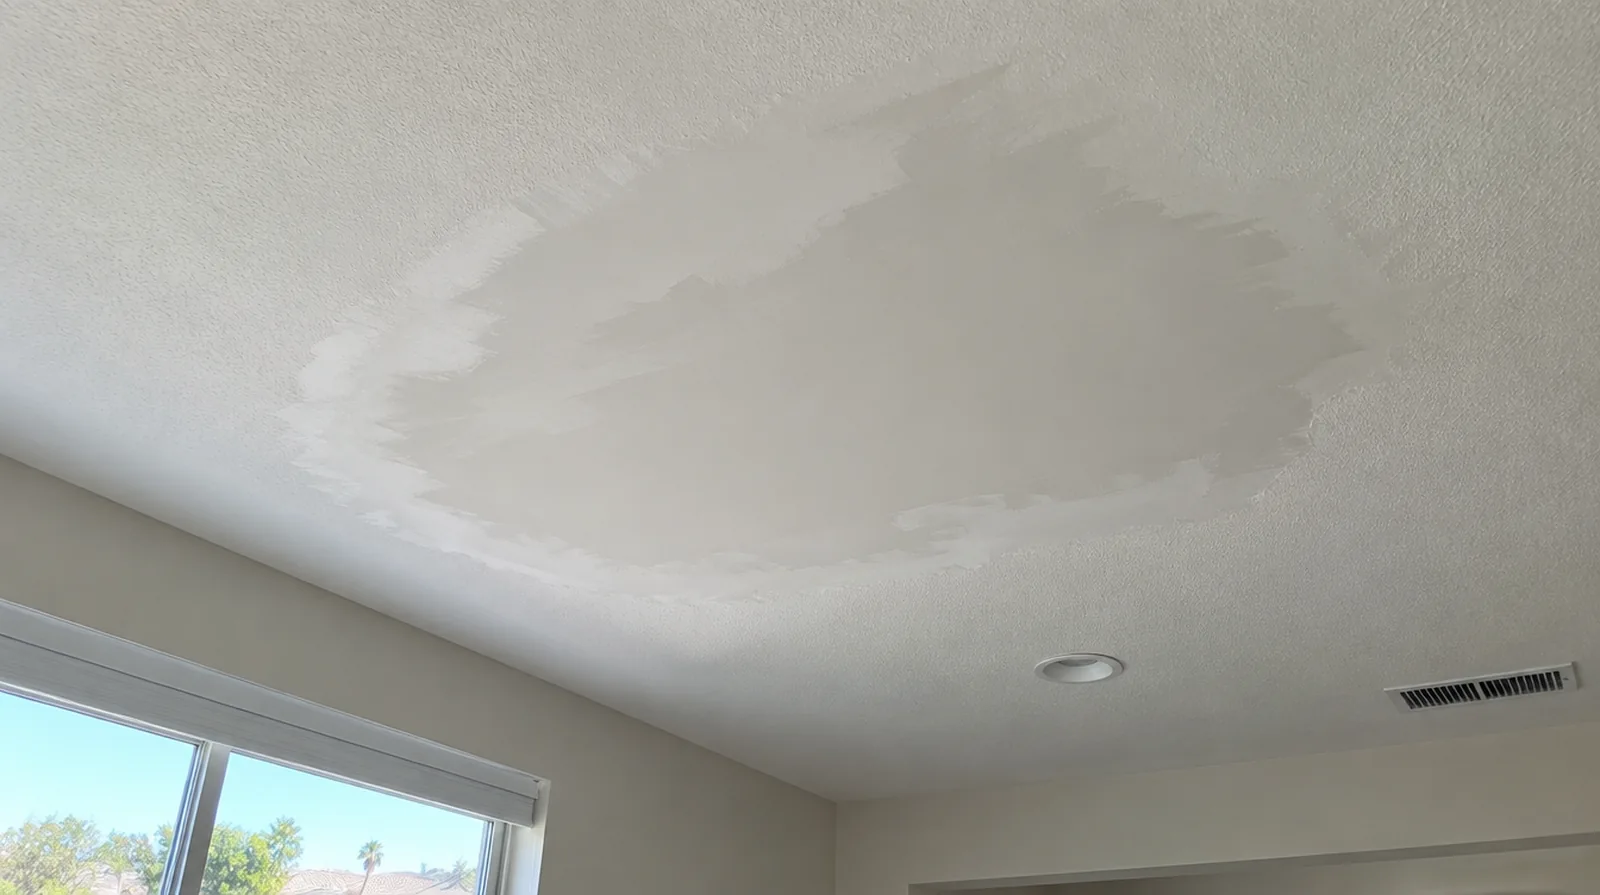
Treat remaining discoloration
An old dry mark may bleed through new decoration unless an appropriate primer is selected. Choose that treatment only after confirming the discoloration does not signal continuing moisture. At a repair beside an opening, allow clearance for moving board through the doorway and space to use the finishing tools effectively.
Define selective removal
A planned removal area opens the assembly for evaluation without automatically stripping every adjacent surface. Choose its edge to allow supported replacement and a finished transition that can be blended effectively. When reviewing the finished work, use the agreed lighting and natural room viewpoints so the assessment reflects the intended use of the space.
Project context in Irvine
A room that will receive new cabinetry also needs an agreed sequence so finished walls are not reopened for backing or service adjustments. Check building rules for delivery and protect the material route, not just the center of the room.
Scope questions before finishing
If access passes through a shared space, arrange protection and a delivery route that do not unnecessarily obstruct other occupants.
For a tightly furnished room, plan temporary storage and the minimum working clearance before material is carried into the property.
For a surface that will receive wall covering, share the product requirements early so the finishing stage supports the planned decorative treatment.
If the original finish is unusual, keep a small reference sample or a close photograph to support the discussion about blending and restoration.
When a quote includes multiple visits, ask what happens during each stage and when the space needs to remain undisturbed between coats.
If there is a fixed move in date, reserve enough time for the coating stages after drywall work rather than counting only the installation period.
At the handover inspection, review the finish from ordinary room positions using the lighting conditions that were agreed for the work.
Where a neat final edge matters, agree whether the finish ends against existing trim or whether that trim will be removed and replaced.
If the problem developed after another renovation, explain which nearby materials or building systems changed before the damage became visible.
At a repair beside an opening, allow clearance for moving board through the doorway and space to use the finishing tools effectively.
If the project is part of a larger remodel, settle the sequence with flooring, trim and cabinet work before setting a final finishing date.
Before comparing two proposals, check that both include the same protection, finishing and cleanup boundaries rather than comparing totals alone.
Explore the Irvine drywall overview for related options, or read the project planning information before arranging the next stage.
More planning details for Irvine
An Irvine room with a broad bright wall deserves a discussion about lighting before finishing begins. Look across the surface from the window side as well as straight toward it; the two views can reveal very different amounts of unevenness. Share the proposed paint sheen and any fixed lighting changes while the preparation scope is being set.