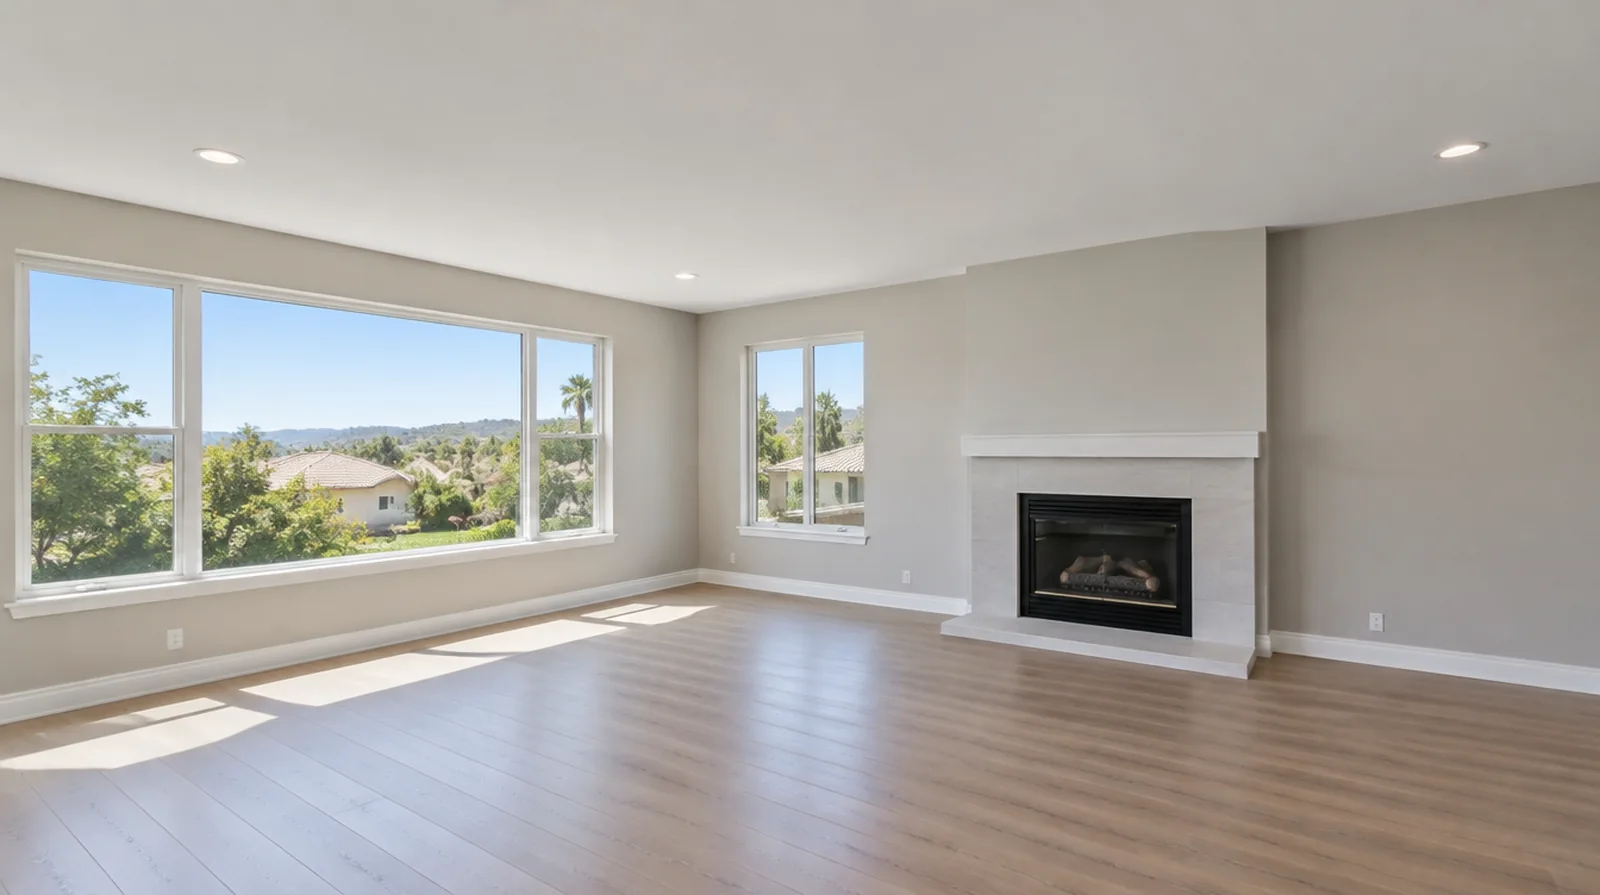
Protect the entire room
Ceiling removal creates overhead debris that can reach walls, floors and fixtures. Discuss furniture removal, masking and the route used to carry materials out of the property. For a distinctive existing pattern, retain a reference sample or detailed picture to make the matching discussion more specific.
Account for side lighting
Windows and ceiling fixtures can expose shallow ridges once the heavy texture is gone. A wider skim or more extensive finishing may be appropriate for an original surface not built to remain smooth. Where existing floors will remain, specify protective measures and review the path used by panels, equipment and finishing tools.
Avoid unnecessary saturation
Removal techniques should not soak and weaken the gypsum board beneath the coating. Choose the method with regard to both the coating response and the condition of the board beneath it. If occupancy must resume on a certain day, include the later primer and paint stages in the timetable as well as drywall installation and finishing.
Review ceiling condition
A textured ceiling can hide old repairs and seams that were never prepared for a smooth appearance. A smooth replacement finish could call for additional repair after the coating has been safely removed. For a surface that will receive wall covering, share the product requirements early so the finishing stage supports the planned decorative treatment.
Check for painted coatings
Paint over a textured coating can change how readily the material releases. Assess a controlled test area so the method, labor and potential substrate repairs are understood. If the current finish is unusual, keep a small reference sample or a close photograph to support the discussion about blending and restoration.
Plan cleanup and reopening
The room should be reviewed after debris removal and the agreed stages of finishing are complete. Allow for drying and painting time instead of assuming the space is usable immediately after scraping. For an initial assessment from pictures, provide an overall room photograph and a detailed view of the defect so both context and scale are apparent.
Establish material safety
Do not disturb an older ceiling texture until any material safety concerns have been evaluated. Arrange qualified testing where warranted and follow applicable requirements before disturbing the material. If there is a fixed move in date, reserve enough time for the coating stages after drywall work instead of counting only the installation period.
Plan fixture coordination
Light fittings, alarms and other ceiling devices could need separate handling by the suitable trade. Specify who will deal with lights, alarms and reinstatement instead of assuming those tasks are included. Where light reflects along the wall, inspect the complete plane instead of limiting the review to the edge immediately next to the repaired section.
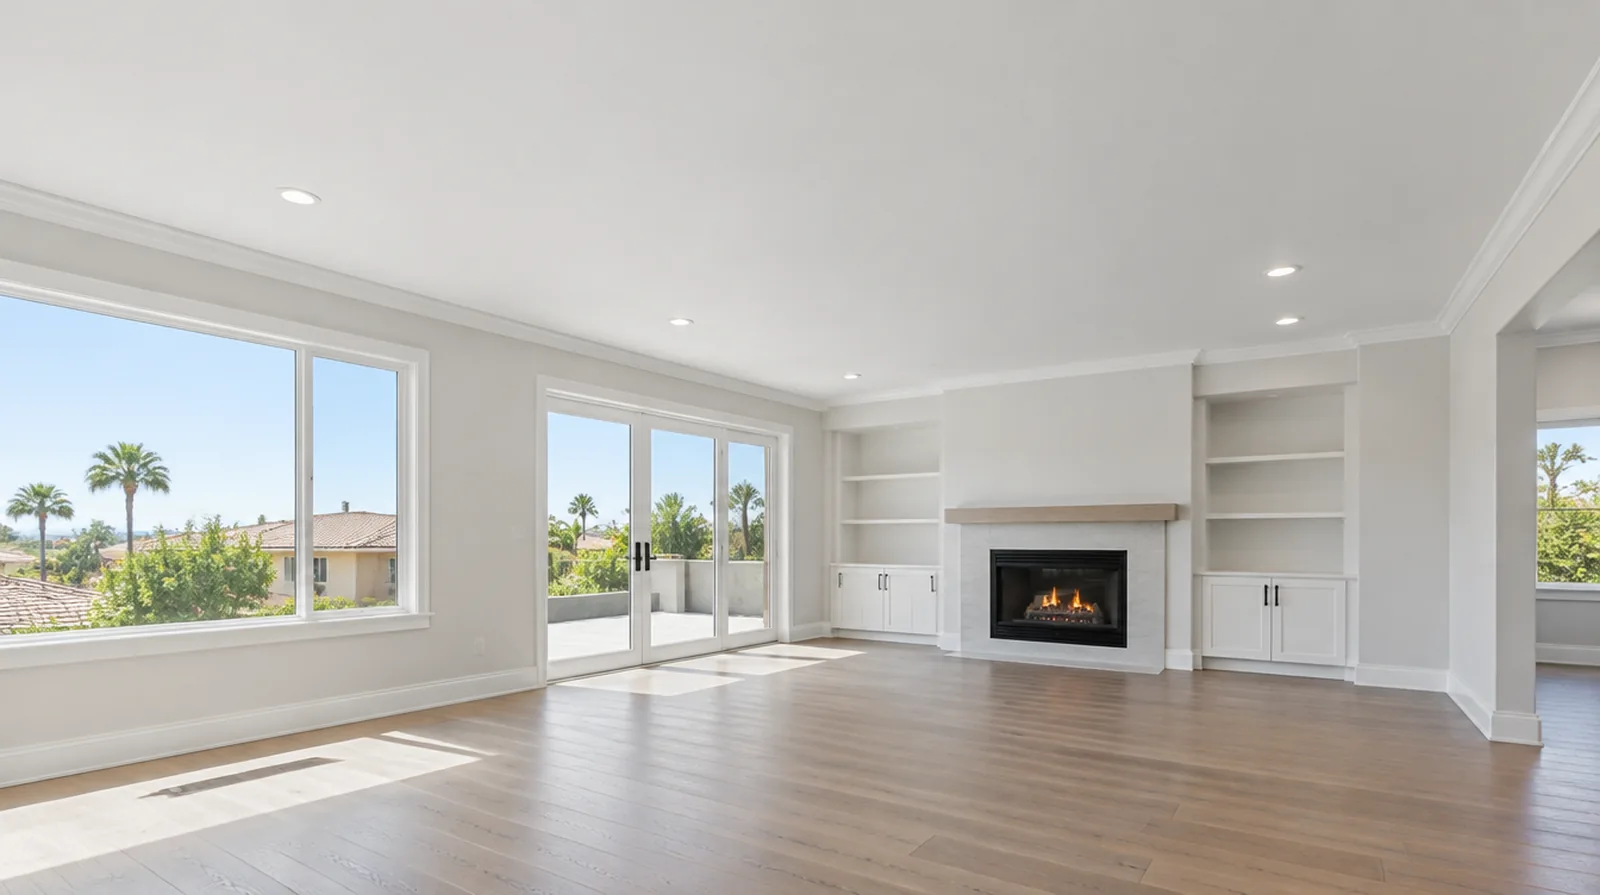
Separate specialist work
Removal of a confirmed hazardous coating requires the relevant specialist process, not ordinary ceiling scraping. Have an appropriate professional address containment, disposal and handling before subsequent drywall finishing is arranged. Where the quoted work stops before painting, request an explicit description of what remains so the next decorating stage can be priced realistically.
Choose the final surface
A smooth ceiling and a new decorative texture involve distinct levels of preparation. A new patterned finish and a flat smooth ceiling can need substantially differing preparation. When concealed damage is possible, establish how additional findings and any proposed removal will be recorded before the scope changes.
Project context in Irvine
Share the proposed paint sheen and any fixed lighting changes while the preparation scope is being set. A room that will receive new cabinetry also needs an agreed sequence so finished walls are not reopened for backing or service adjustments.
Scope questions before finishing
For a surface carrying numerous paint layers, discuss whether differences in the retained profile or sheen justify decorating a broader area.
Before comparing two proposals, check that both include the same protection, finishing and cleanup boundaries rather than comparing totals alone.
When painting is outside the proposal, describe the remaining decorative preparation clearly so another contractor can price that stage accurately.
When the wall has strong reflected light, look at the full plane rather than judging only the narrow strip immediately beside the patch.
If the project is part of a larger remodel, settle the sequence with flooring, trim and cabinet work before setting a final finishing date.
When a quote includes multiple visits, ask what happens during each stage and when the space needs to remain undisturbed between coats.
Where the wall meets fixed furniture, clarify whether removal is included or whether the finish will terminate at the accessible edge.
If the surface condition is uncertain, allow for an assessment that can distinguish stable material from layers that should not be covered.
At a repair beside an opening, allow clearance for moving board through the doorway and space to use the finishing tools effectively.
For walls beside bright windows, review a dry sample from an oblique angle as well as looking straight at the repaired surface.
If the final paint is already chosen, share its sheen and color early because those choices influence how surface preparation is judged.
For a room with restricted airflow, plan drying conditions alongside dust protection and the comfort of people occupying neighboring spaces.
Explore the Irvine drywall overview for related options, or read the project planning information before arranging the next stage.
More planning details for Irvine
An Irvine room with a broad bright wall deserves a discussion about lighting before finishing begins. Look across the surface from the window side as well as straight toward it; the two views can reveal very different amounts of unevenness. Check building rules for delivery and protect the material route, not just the center of the room.